A DIY planner is the perfect way to find clarity in all the craziness of each day.
Not to mention it gives you so much peace of mind when you have an actual plan and intentions for your week (I usually like to plan mine out on Sundays).
Through starting this blog, I realized I needed a system to manage my personal life while also working on and growing the blog, and I can say creating my own printable DIY planner was a total game-changer. Especially because I got to design and choose my own pages. And it’s, IMHO even better than getting a store-bought planner.
You can find a printable planner useful whether you have a big family that you’re trying to keep fed and clean, or you’re living with roommates and you’re trying to figure out whose turn it is to get the groceries!
Here’s how you can create your own printable planner, along with templates, free printables, and DIY planner ideas for an awesome home organization system that can work for anybody (especially if you have a crafty side and love color, like me!)
Before we get started:
- If you’re looking for complete printable kits to organize your day, check out the shop.
- If you’re looking for basic printables to get you started, check out this free download resource full of free printables.
- For more free printables on the blog, see them all here.
How do you make a good planner?
Making a good planner means designing it around your very personal needs.
Are you trying to organize your finances and prioritize paying off debt?
Are you trying to get a handle on your health and need a place to write out weekly meal plans?
Do you need a daily, weekly, or monthly spread and outline of what needs to get done each day?
Do you want a journaling section to create a journaling habit?
Are you starting a blog or side business and need a place to organize it all?
The first few steps I would take before actually printing and putting together your planner are:
- What are the top 3-5 parts of my life that I need to organize RIGHT NOW?
- How many categories do I need to organize those five areas of my life?
- What are the 1-2 basic sections I want my planner to have (a weekly category? A monthly category?
- Once I know what exactly I want to organize, where can I find those printables? (HINT: I have a shop along with a free printable resource!)
- Where can I find pretty dividers for each of my sections?
Once you’ve answered all these questions, have put together an initial functional planner, go ahead and put it to good use! Try to make it a daily habit to check in with your planner, even if it’s just to look over what you’ve got planned for the week or even your favorite affirmations.
As you go, your planner needs will change
And that’s the beauty of creating your own DIY planner, you can organize it and change it or add to it whenever and however you want.
I’ve honestly tried keeping store-bought planners, but they always ended up in a corner with only three pages filled in. Now, with my personal DIY planner, I enjoy using it every day in some capacity (especially for journaling, since I’ve designed my pages exactly how I want them). And I’m constantly playing with changing my planner covers and dividers.
To make sure your planner is something you actually LOVE and look forward to really using every day, you’ll want to put some time into making it the best and most usable planner and really make it yours.
How do I make my own daily planner?
To successfully design a DIY planner that you’ll actually use you want to make it as pretty and as accessible as possible.
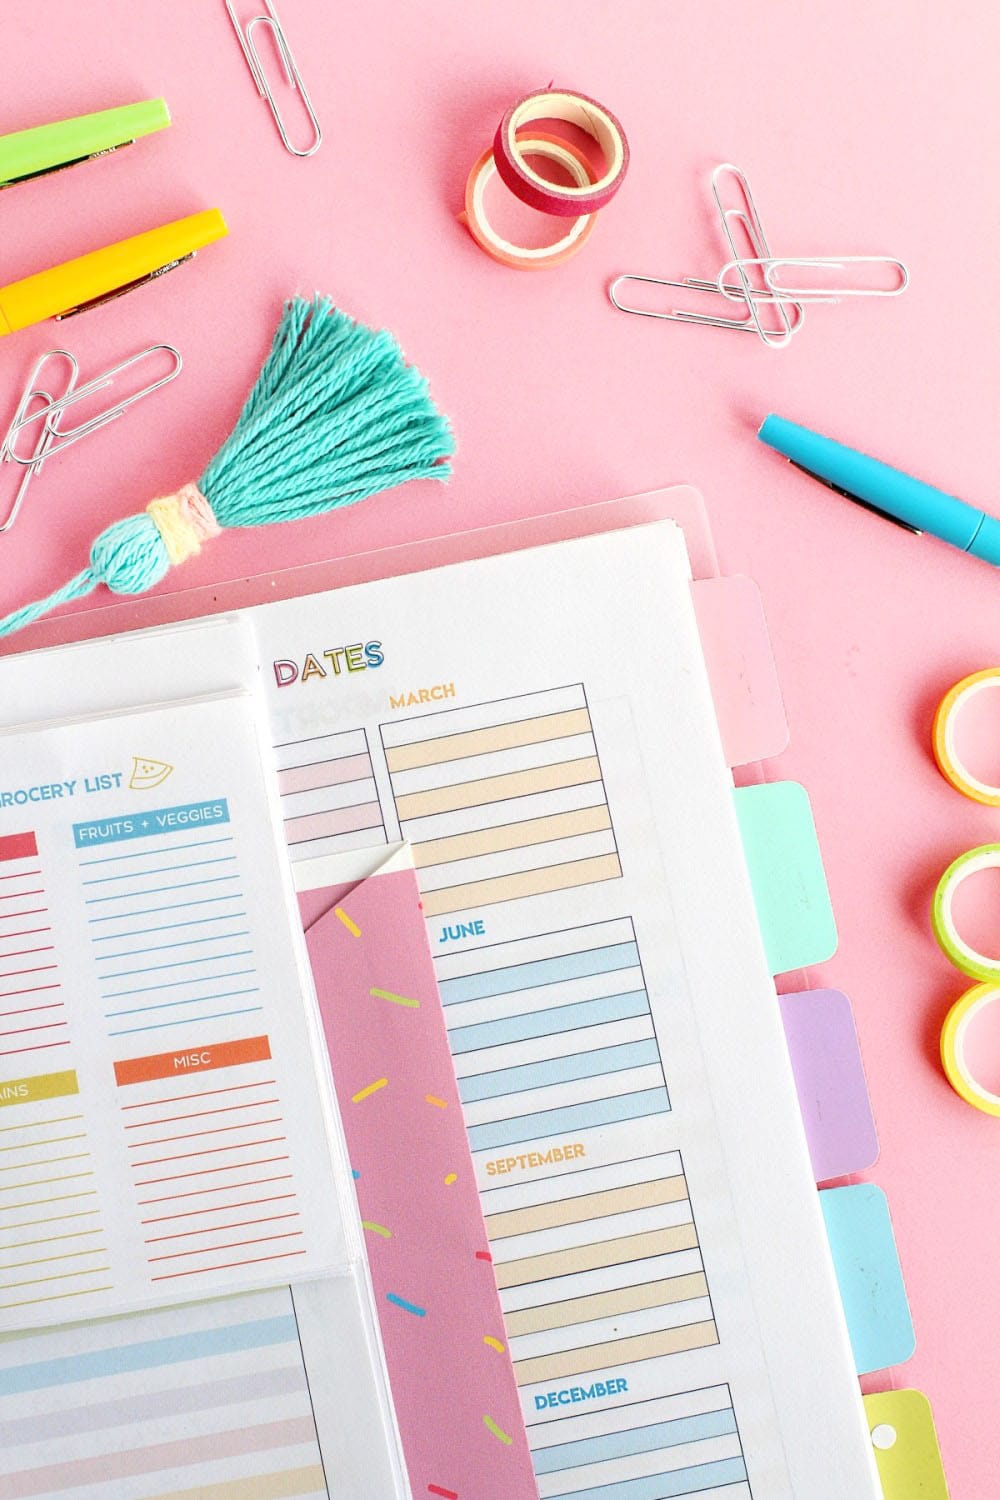
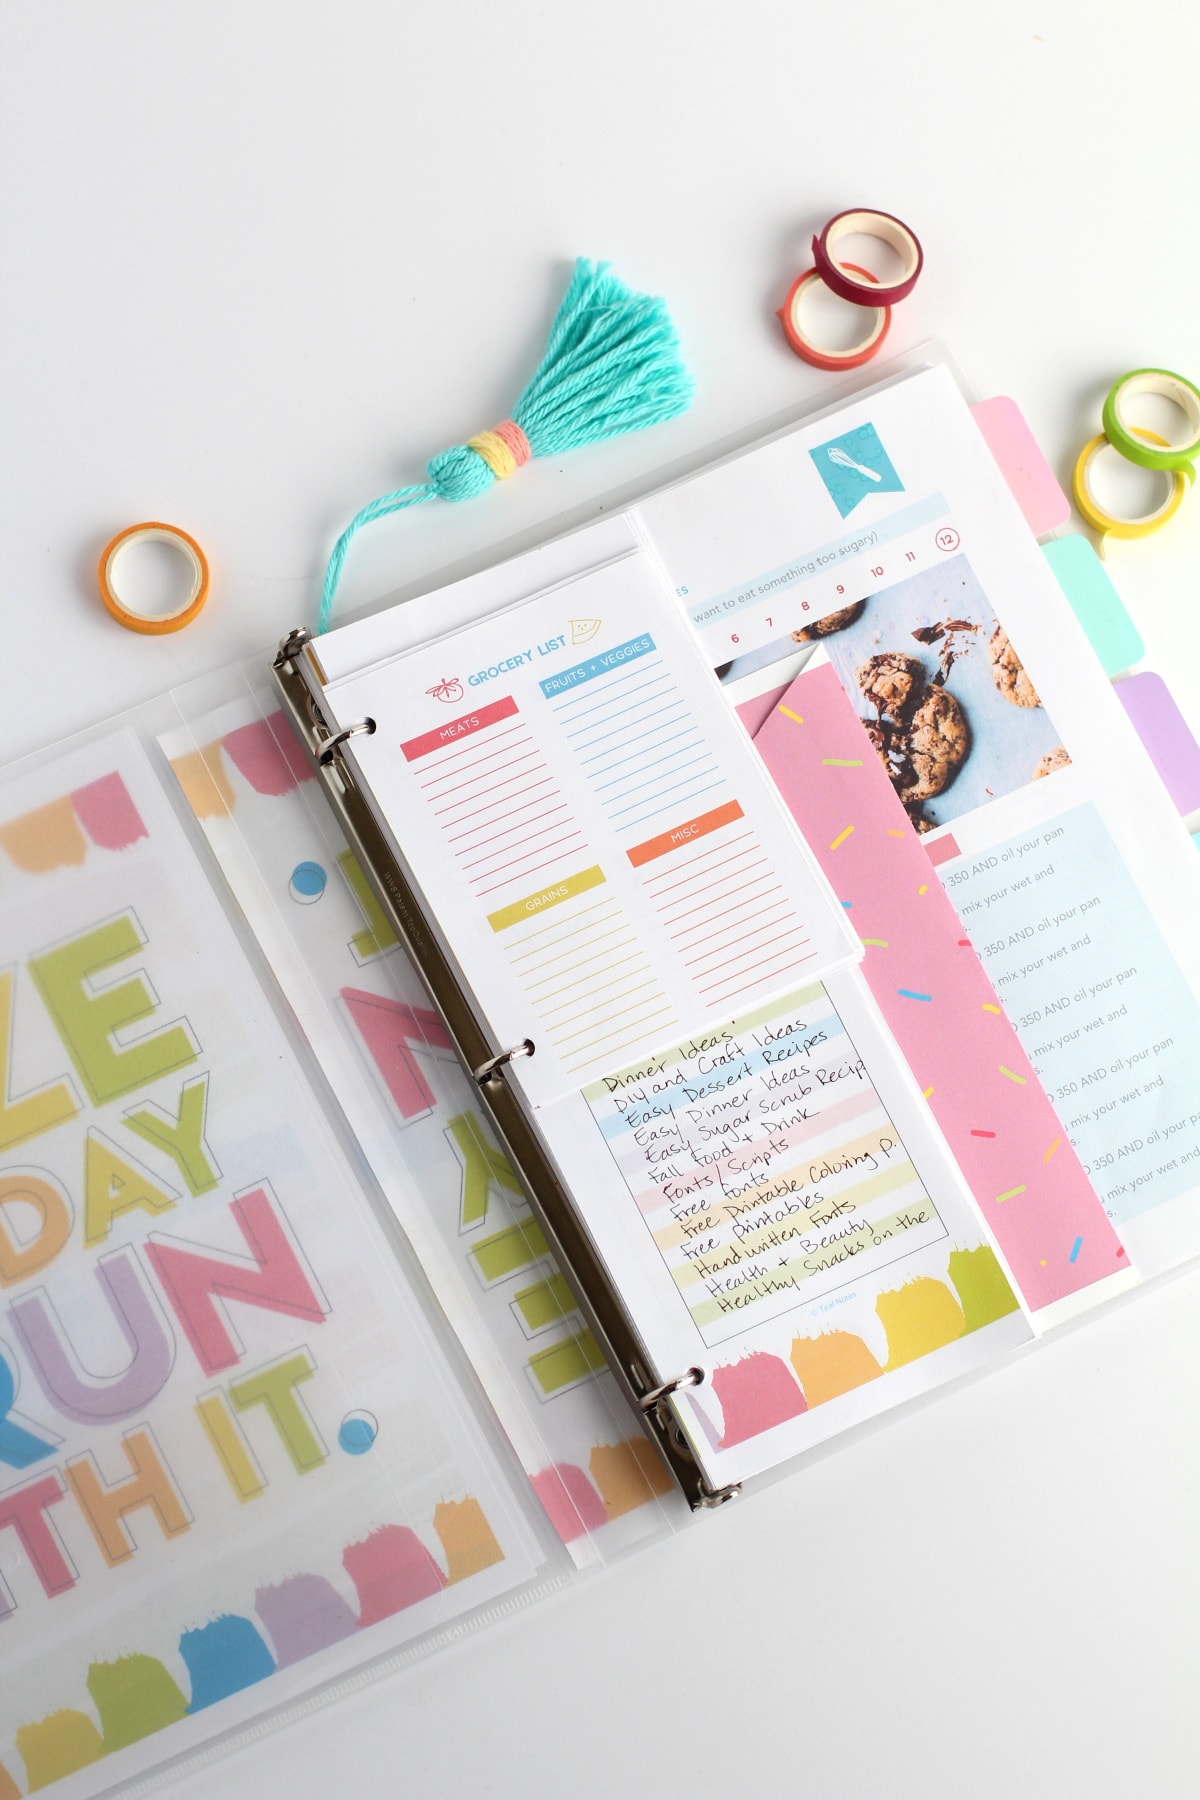
These are all the materials and tools I use to put my DIY planner together. Here’s a quick pic of one of my planner sections. I love it.

See-through three-ring binder


I searched high and low and wasn’t really able to find a letter sized three ring binder that was completely see through.
The closest I got to that was this Jam Paper see through 0.75 three ring binder.
It works great and it’s durable so its a great binder if you want to be able to see your cover page through it.
I ordered it through amazon and I got it within two days! No need to go to Staples.
White printer paper
You can find basic white printer paper on amazon. It’s totally up to you if you want to buy reams of paper in bulk (always remember to recycle too) or if you want to buy a ream individually (they can last you for what seems like forever).

There are also different grades of white paper, and it’s also up to you the kind of feel and look that you want your paper to be.
I like to get the basic paper and it works just fine for me. This Amazon Basics 500 page ream is only about $8! It’s a pretty good steal if you’re going to be printing a lot (which after you fall in love with your own DIY planner you totally will!).
Cardstock
I’ve always felt like cardstock is always a good idea to have stocked away just in case!

It’s great for making simple DIY thank you cards, making dividers, or printing out wall art that you can frame and hang in your bedroom or home office.
For the DIY planner, I like using cardstock for the cover pages. And also for the divider pages. It’s sturdy and helps your planner stay neat, new, and tidy.
Pens and markers


I don’t know about you, but if I don’t have the RIGHT pen that feels good in my hand when I draw and write with it I’m not happy!
I love when you find a pen that works with you and your penmanship.
So it might take a little experimenting to find something that fits you.
I personally like to use the classic Sharpie pens. I like getting them in sets of two.

Another great pen brand is the Paper Mate Flair Felt Tip Pen Set.

These are great for color coding different parts of your planner printables and are great for doodling and drawing.
Especially if you’re including a bullet journal section in your planner with dot grid paper (more on that later!)
I like using them for doodles, or if I want a certain appointment or set of notes to stand out. They last long and they don’t bleed through paper, which is always a plus!