Once again mother’s day is around the corner and it always catches me by surprise.
I always promise myself I’ll take care of creating gifts ahead of time so they’re made and sent on time and it’s the same story every year.
This time around though, I was able to whip up a few DIY ideas in the nick of time so you can also print them out and make them at home.
If you’re looking for something simpler than making this DIY gift box, which I’m obviously in love with, then check out my free Mother’s Day Cards templates you can print out, cut out, and have ready to give in a few minutes.
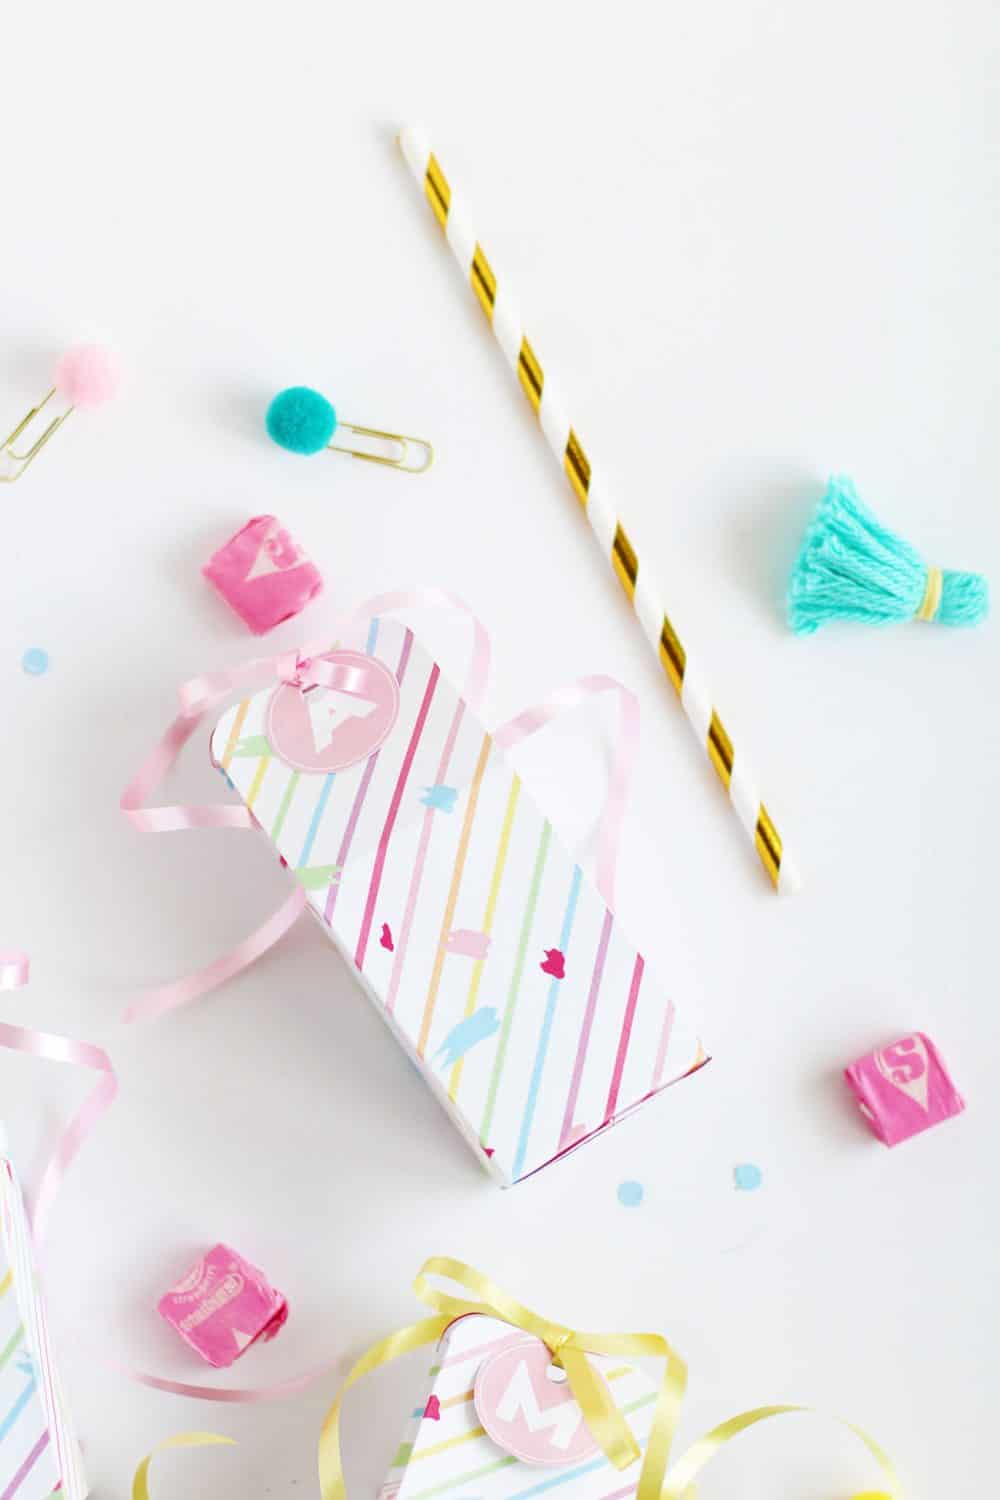
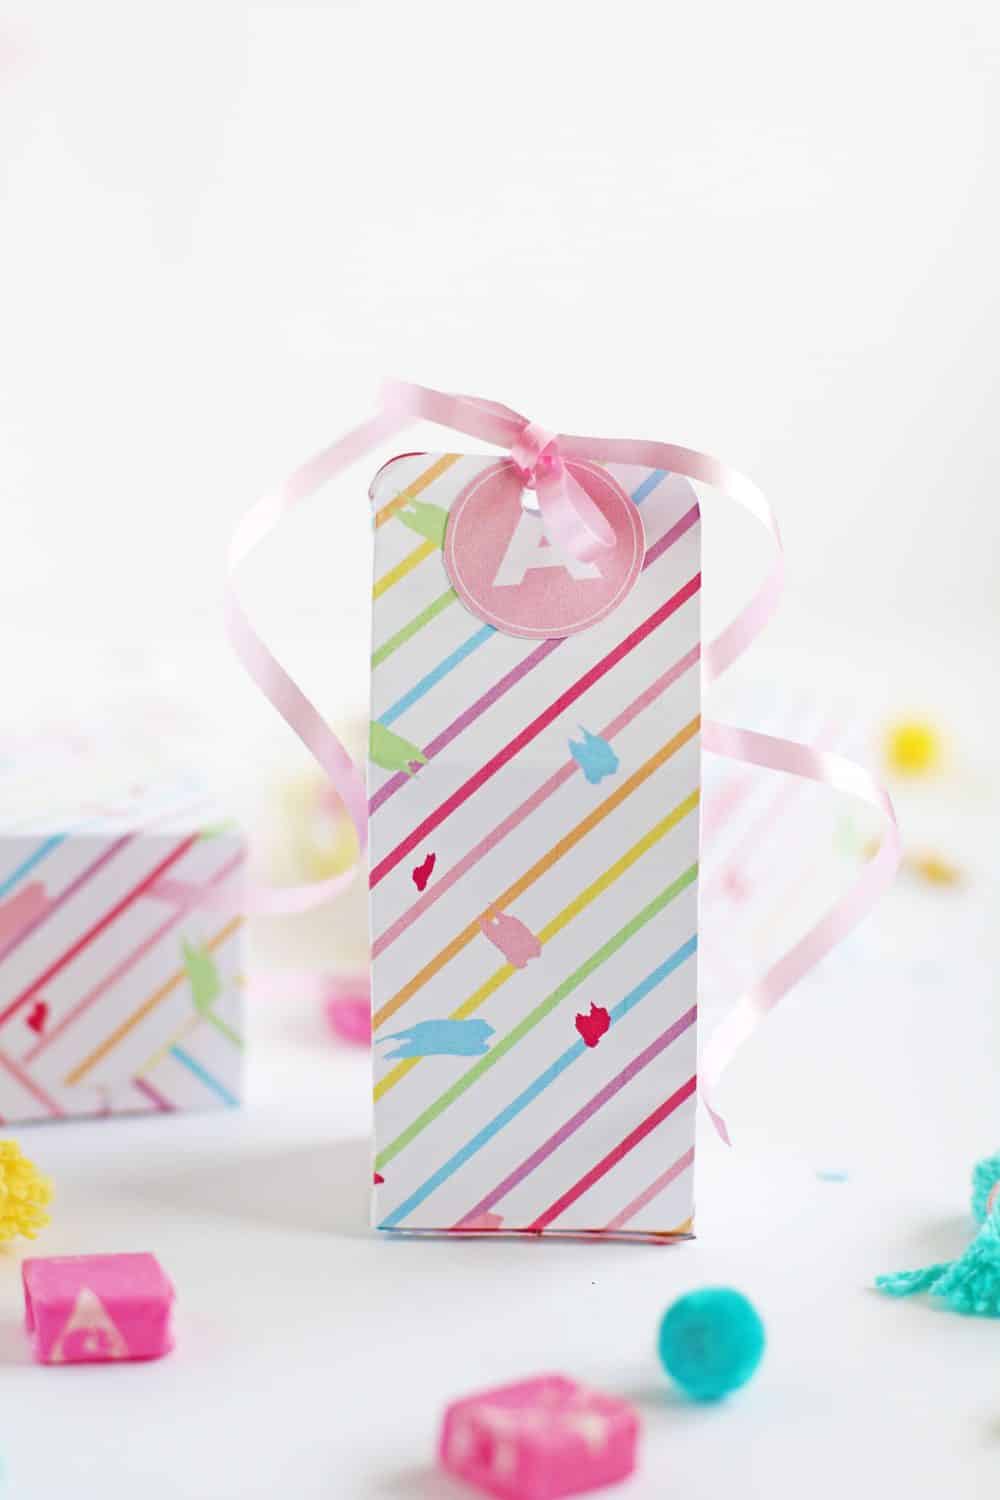
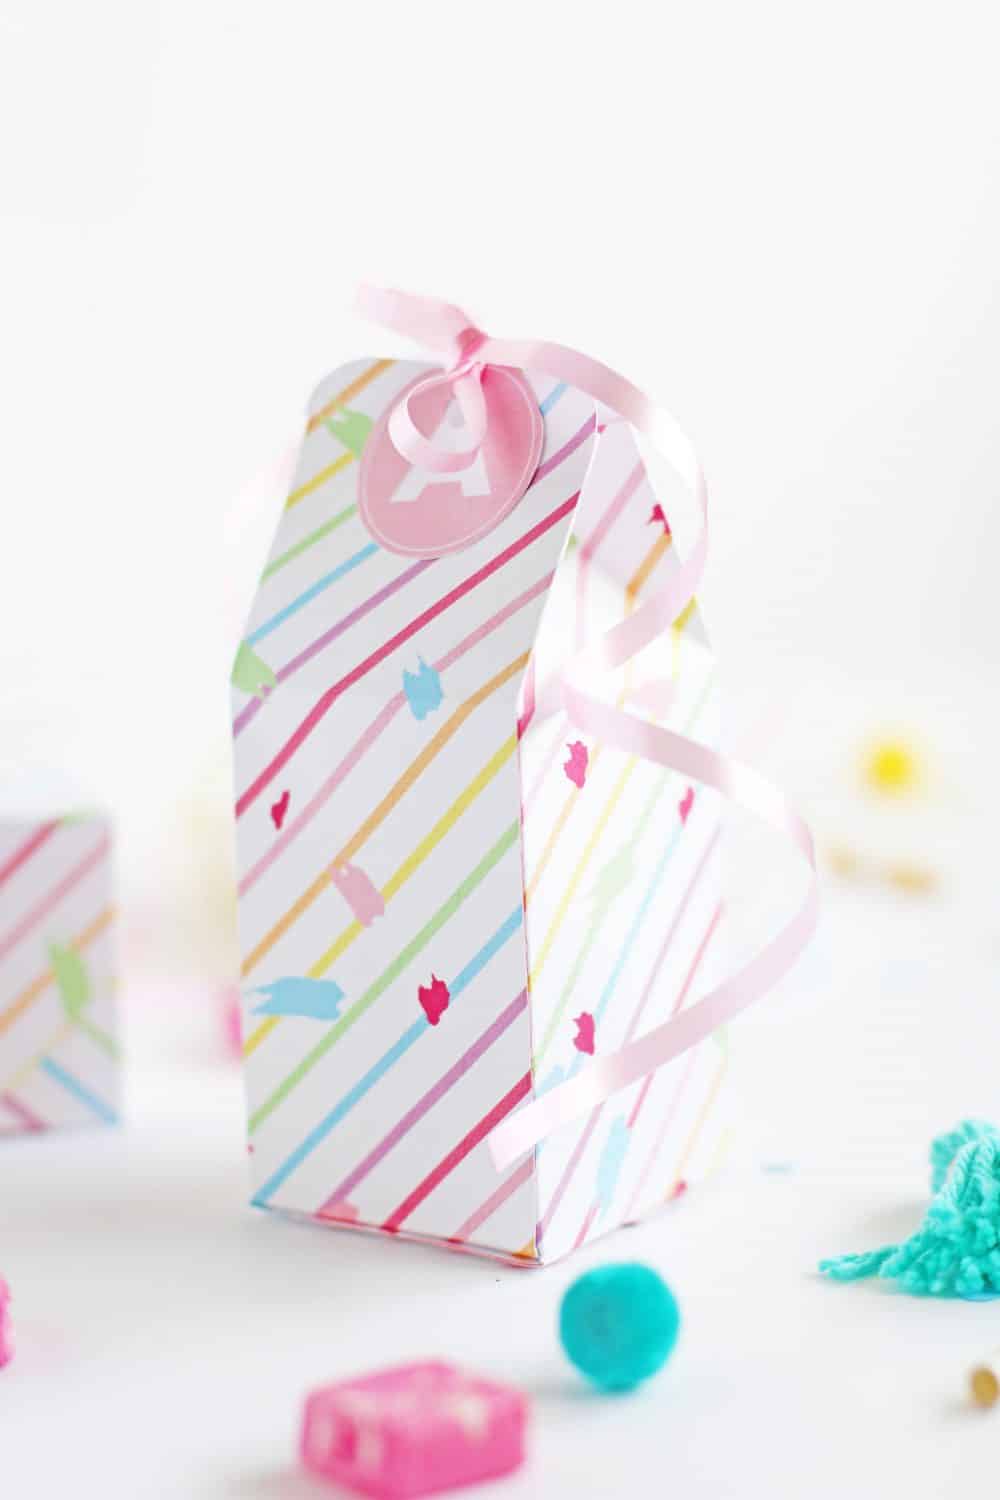
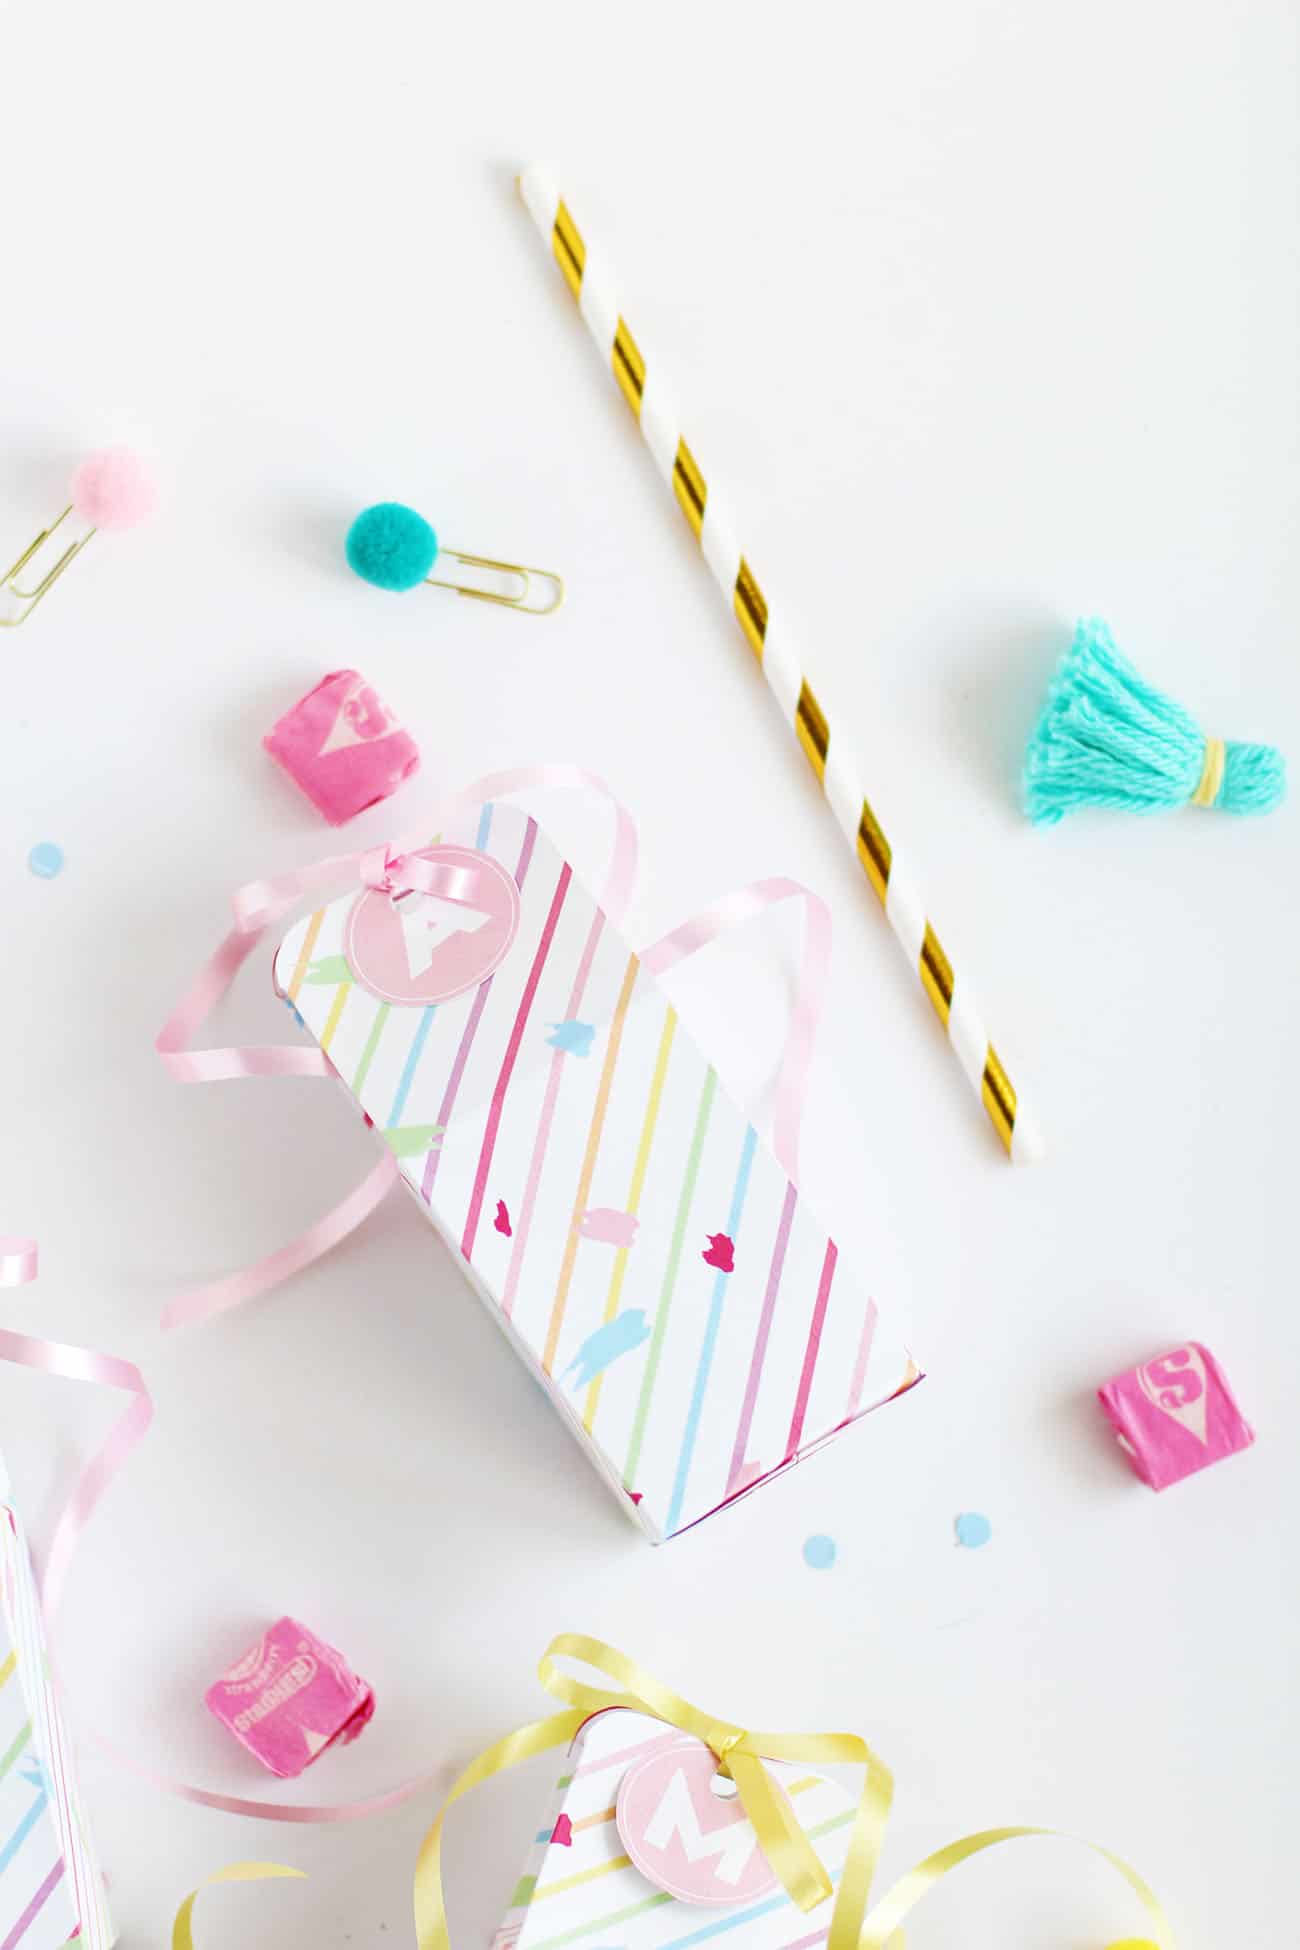
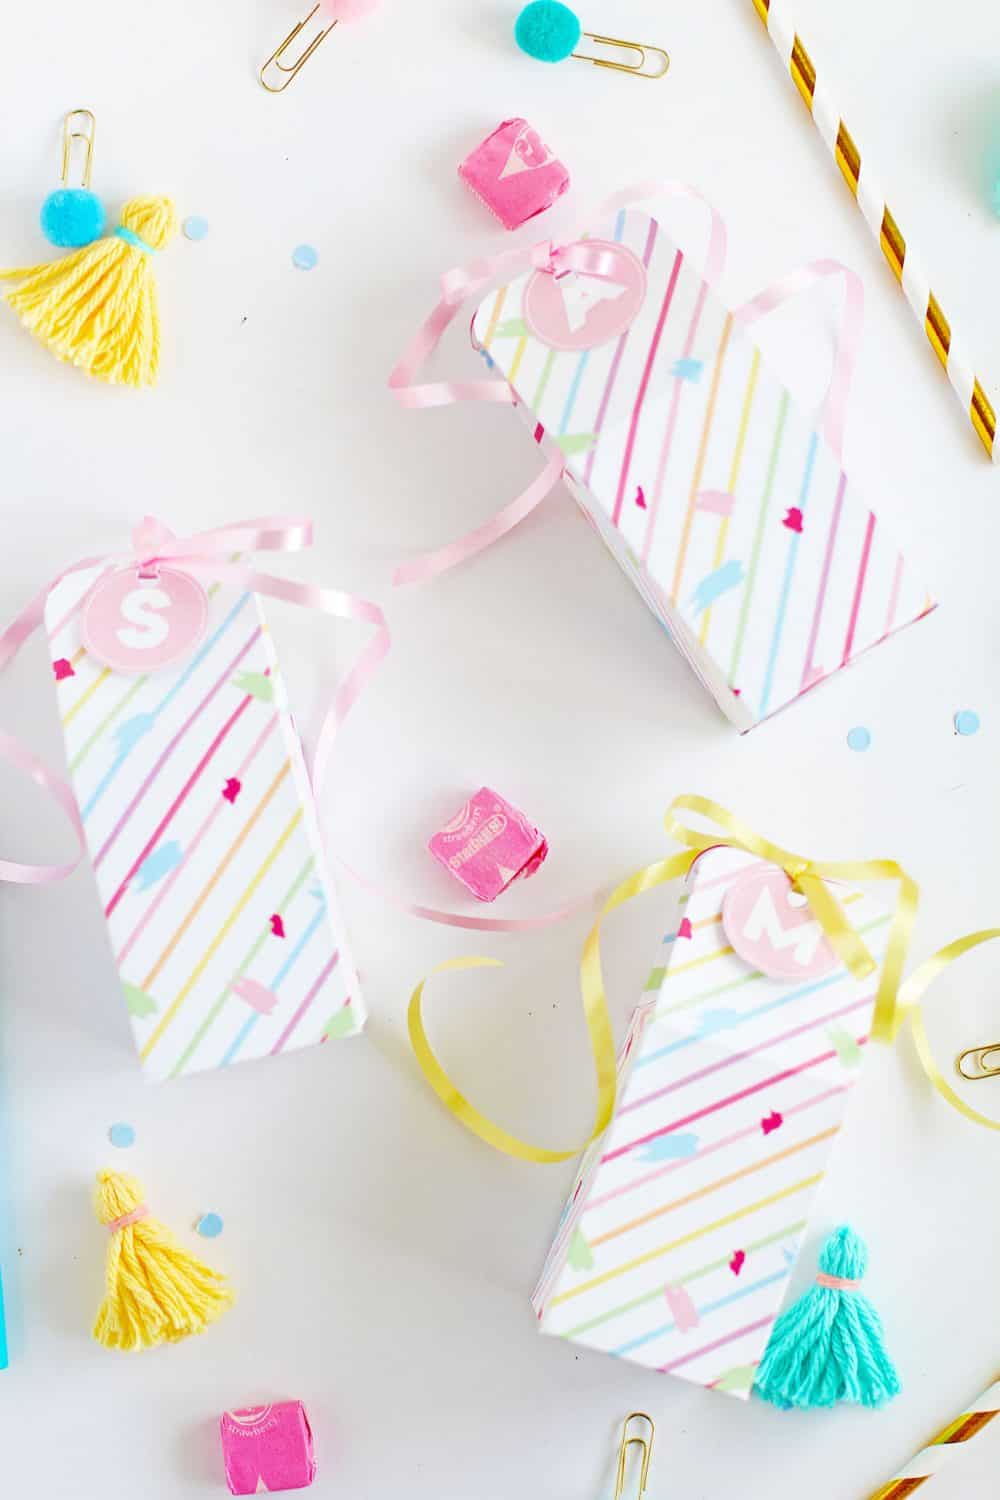
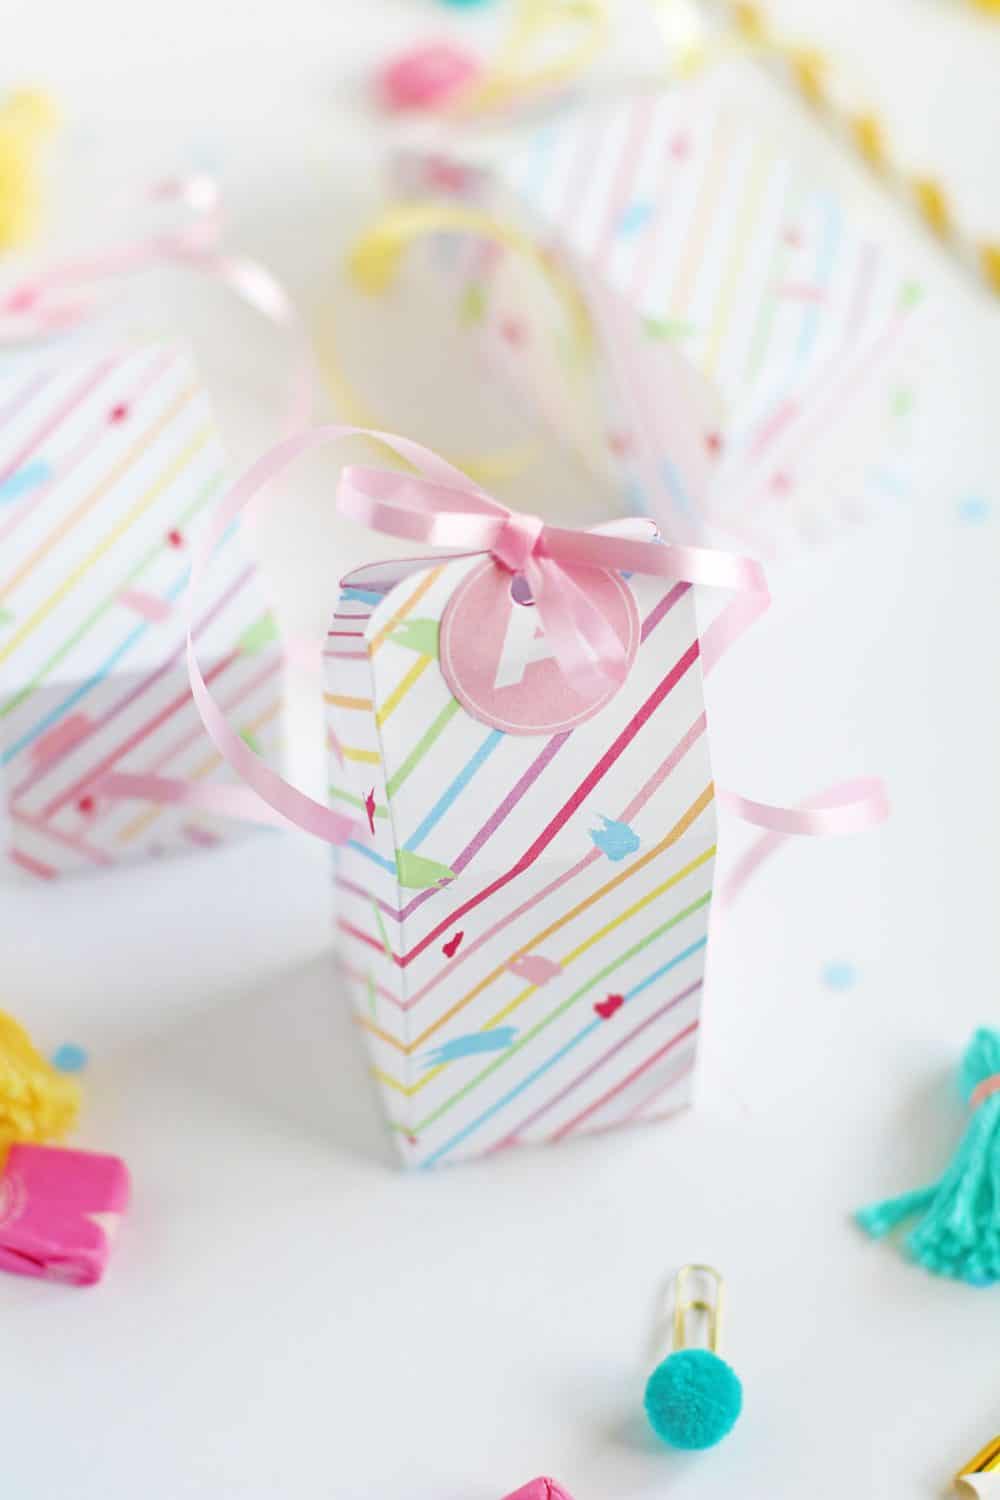
This box, after you put it together, measures about 2 X 2 inches all around and 3 inches tall.
So it’s a great size for gifts like jewelry, rings, small cards or letters, candy, chocolates, or small trinkets.
- The box template (included in the download link below)
- The charm letter of your mother’s first name (also included in the link below)
- About 20 inches of curling ribbon in your preferred color
- Sturdy cardstock for printing! (paper will NOT give you the same results)
- A pair of scissors
- A glue stick
- Gift paper (optional for the inside of the box)
- Your preferred gift (small enough to fit in the box, obviously)
DOWNLOAD THE BOX TEMPLATE HERE
DOWNLOAD THE CHARM LETTER TEMPLATE HERE
[directions title=”Directions”]- After downloading, print out your box template double-sided (use Adobe Acrobat Reader for best results).
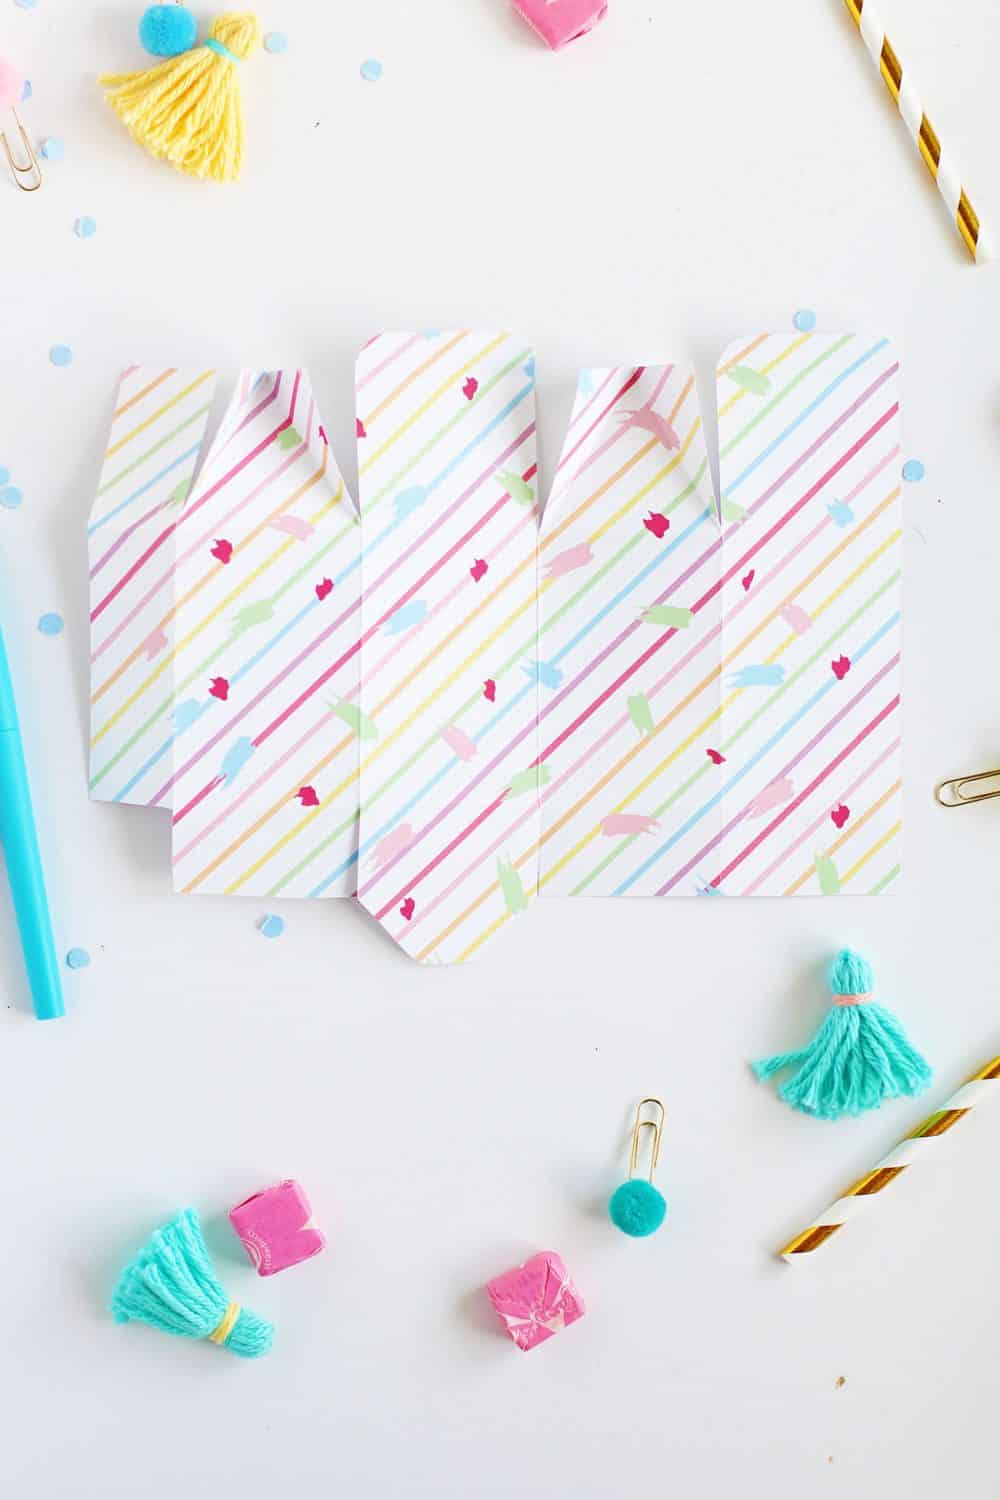
- Cut out the box, cut the marked slits, and fold both ways along marked areas. I find using the edge of a scissor helps me get clean folds. The template has clear marks on where you should cut and where you should fold only.
- Your box should look like the image above once you’ve cut and folded all your edges, now it’s time to put your box together!
- Using the gluing guides on your box, glue the side flap to the inside side of the opposite side of the box so it starts taking a square shape.
- Then glue your bottom flaps together (you can use a heavy object to insert inside the box to press your flaps together and ensure you get a nice clean glue job that sticks.
- Then add in all your gift papers and goodies after allowing the box to dry (about 10 minutes max)
- Bring the two top flaps together and hole punch for your charm and ribbon placement.
- Cut out the preferred letter charm and hole punch the top of it as well.
- Line up your letter charm with the hole punch in your box and add your ribbon to tie a small bow.
- Use your scissors to lightly curl the ends of your bow until you get a slight curl
- And voila! Your Mother’s Day gift box is ready to go!
This gift box is really perfect for any occassion.
It doesn’t just have to be Mother’s Day! You can use it as a birthday gift box if you’re gifting a small gift, as an anniversary box, graduation, baby shower.
You name it, chances are the box is a great idea as an extra special touch.
Did you make it at home? Comment below and let me know!