
Have you ever looked at a plain notebook and imagined all the possibilities it holds?
(I certainly have.)
As someone who thrives on organization and loves the idea of creating a personal space to track my life, turning a simple notebook into a fully functional planner is like a burst of creative energy.
It’s not just about keeping track of tasks and appointments; it’s about curating a tool that reflects your unique style and needs.
Imagine flipping open a notebook that not only helps you stay on top of your schedule but also captures your goals, habits, and reflections.
It’s more than just a planner; it’s your personal sanctuary for productivity and self-discovery.
In this guide, I’ll walk you through the process of transforming that blank canvas into a planner that’s tailor-made for you.
So grab your favorite pens, stickers, and let’s dive into how to make your own planner from a plain notebook that’s as vibrant as your aspirations.
1. Choosing the Right Notebook
When it comes to turning a plain notebook into a planner, the first step is selecting the right foundation.
While any notebook can be transformed, choosing the one that aligns with your preferences and needs is essential for a successful planner makeover.

- Size Matters: Consider how portable you want your planner to be. A compact notebook fits easily in your bag, making it ideal for on-the-go planning, while a larger one provides more space for creativity and detail. Meanwhile, you can explore other things and try making a DIY mini bullet journal notebook for portability and convenience.
- Paper Quality: Opt for a paper that works well with your preferred writing tools. The thick, bleed-resistant paper prevents ink from smudging or bleeding through to the next page, ensuring a neat and organized planner.
- Binding Style: Choose between spiral-bound, stitched, or disc-bound notebooks. Spiral bindings allow for easy flipping, while stitched bindings provide a more traditional look. Disc-bound notebooks offer flexibility in rearranging and adding pages.
- Dot Grid vs. Lined vs. Blank: The type of paper inside matters. Dot grid paper offers a structured guide for layouts and doodles, while lined paper helps with neat writing. Blank pages give you the freedom to design your layouts.
- Cover Design: Your planner’s cover is like a first impression. Opt for a design that resonates with you, whether it’s minimalist, colorful, or personalized with your name or a motivational quote.
Remember, your notebook is the canvas for your planner journey. Personally, I chose a medium-sized, dot grid notebook with a durable cover that allows me to express my creativity while staying organized.
2. Setting Up Your Planner
Now that you have the perfect notebook in hand, it’s time to transform it into a well-organized planner that suits your lifestyle.
This section will guide you through the process of setting up your planner, step by step.

- Creating a Monthly Calendar: Begin by allocating a few pages for your monthly calendar. Use a double-page spread for each month, leaving enough space to jot down important dates, appointments, and events. Personally, I find color-coding my entries to be a lifesaver – one color for work-related tasks, another for personal commitments, and so on.
- Designing Weekly Spreads: Dedicate a section for your weekly spreads. Divide each week into days or columns, and leave room for your to-do lists, tasks, and notes. Adding a space for meal planning and a mini habit tracker can help you stay on top of your goals. It’s just like what we did on a bullet journal adding weekly spreads where we can add things to do and your plans for the week.
- Incorporating To-Do Lists and Goals: To keep track of tasks and goals, create designated pages for to-do lists and goal-setting. Break down your goals into manageable steps, and celebrate your progress as you check items off your list.
For example, if your goal is to start meal prepping, list the steps you need to take to make it a reality. - Adding Custom Sections: Tailor your planner to your specific needs by adding custom sections. A habit tracker can help you build new routines, while a meal planning section can simplify your grocery shopping and cooking. Don’t forget a page for reflections, where you can jot down thoughts and insights about your journey.
As you set up your planner, make it a reflection of your personality. Add inspirational quotes, stickers, or even small drawings to make each page uniquely yours.
Remember, the goal is not just to organize your life but to create a planner that brings you joy and helps you thrive.
With your planner set up and ready to go, you’re on your way to a more organized and intentional lifestyle.

3. Adding Custom Sections
Now that you’ve laid the foundation of your planner, it’s time to infuse it with personalization and purpose by adding custom sections that cater to your specific needs and goals.
Let’s explore some key custom sections that can take your planner to the next level.

- Habit Tracker: Integrating a habit tracker into your planner can help you build and maintain positive habits. Create a grid with habits you want to cultivate, such as drinking more water, exercising, or reading daily. You can start with a weekly habit tracker until you can follow it and make it to how many days you’ve wanted to. Color in or check off each box as you complete the habit. This visual representation encourages consistency and progress. For example, I use a habit tracker to monitor my daily meditation practice. Each day I meditate, I color in a box, and over time, I can see my commitment and improvement.
- Meal Planning: A dedicated meal planning section streamlines your grocery shopping and meal preparation. Divide pages into weekly meal plans and shopping lists. Note down recipes, ingredients, and any dietary preferences. This not only saves time but also promotes healthier eating habits. Personally, I find meal planning indispensable. I jot down recipes, create shopping lists, and even note cooking times. This practice has made dinnertime stress-free and enjoyable.
- Reflection Pages: Incorporating reflection pages allows you to pause, evaluate, and learn from your experiences. Set aside pages to write about your achievements, challenges, and insights. These pages serve as a valuable record of your growth journey. For example, I use reflection pages to write about accomplishments, hurdles I’ve overcome, and lessons learned. It’s a therapeutic practice that keeps me motivated.
By adding these custom sections, your planner becomes a holistic tool for personal development and organization.
Remember, the power of a custom planner lies in its ability to adapt to your ever-evolving needs.
As you embrace these sections, you’re creating a planner that’s more than just a schedule; it’s a reflection of your aspirations and a roadmap to success.
Now that you’ve explored these custom sections, let me know if you’re ready to dive into personalizing your planner with colors, stickers, and a touch of creativity.
4. Personalizing with Colors and Stickers
Now that your planner is taking shape with essential sections, it’s time to infuse it with your unique style and personality.
Personalization goes beyond just functionality – it’s about creating a planner that resonates with you on a visual and emotional level.
Let’s explore how to use colors and stickers to make your planner truly yours.
- Color Coding: Assign colors to different categories or activities in your planner. For instance, you can use one color for work-related tasks, another for personal commitments, and a third for self-care activities. This simple technique adds a visual layer of organization and makes information easy to find at a glance.
- Stickers as Accents: Stickers are a fun and creative way to highlight important events, and goals, or even add a touch of whimsy to your planner. Whether it’s a motivational quote sticker or an icon denoting a special occasion, stickers bring life to your pages. You could make your planner more artistic and add more colors like putting washi tapes on it.
- Doodles and Hand-Lettering: Don’t be afraid to embrace your artistic side by adding doodles and hand-lettering. Even if you’re not a professional artist, a little doodle or a hand-lettered header can make your planner feel more personalized and inviting.
- Seasonal Themes: Switching up your color palette and stickers based on the seasons or holidays can add variety and excitement to your planner. It’s a wonderful way to keep things fresh and aligned with the changing vibes of the year.
- Reflecting Your Mood: Use colors and stickers to reflect your mood or intentions for the day. Feeling energetic? Use vibrant colors. Need a calm day? Opt for softer hues. Let your planner be a visual representation of how you’re feeling.
As you experiment with colors and stickers, remember that there’s no right or wrong way to do it.
Your planner is your canvas, and you’re the artist. Embrace the process and let your creativity flow.
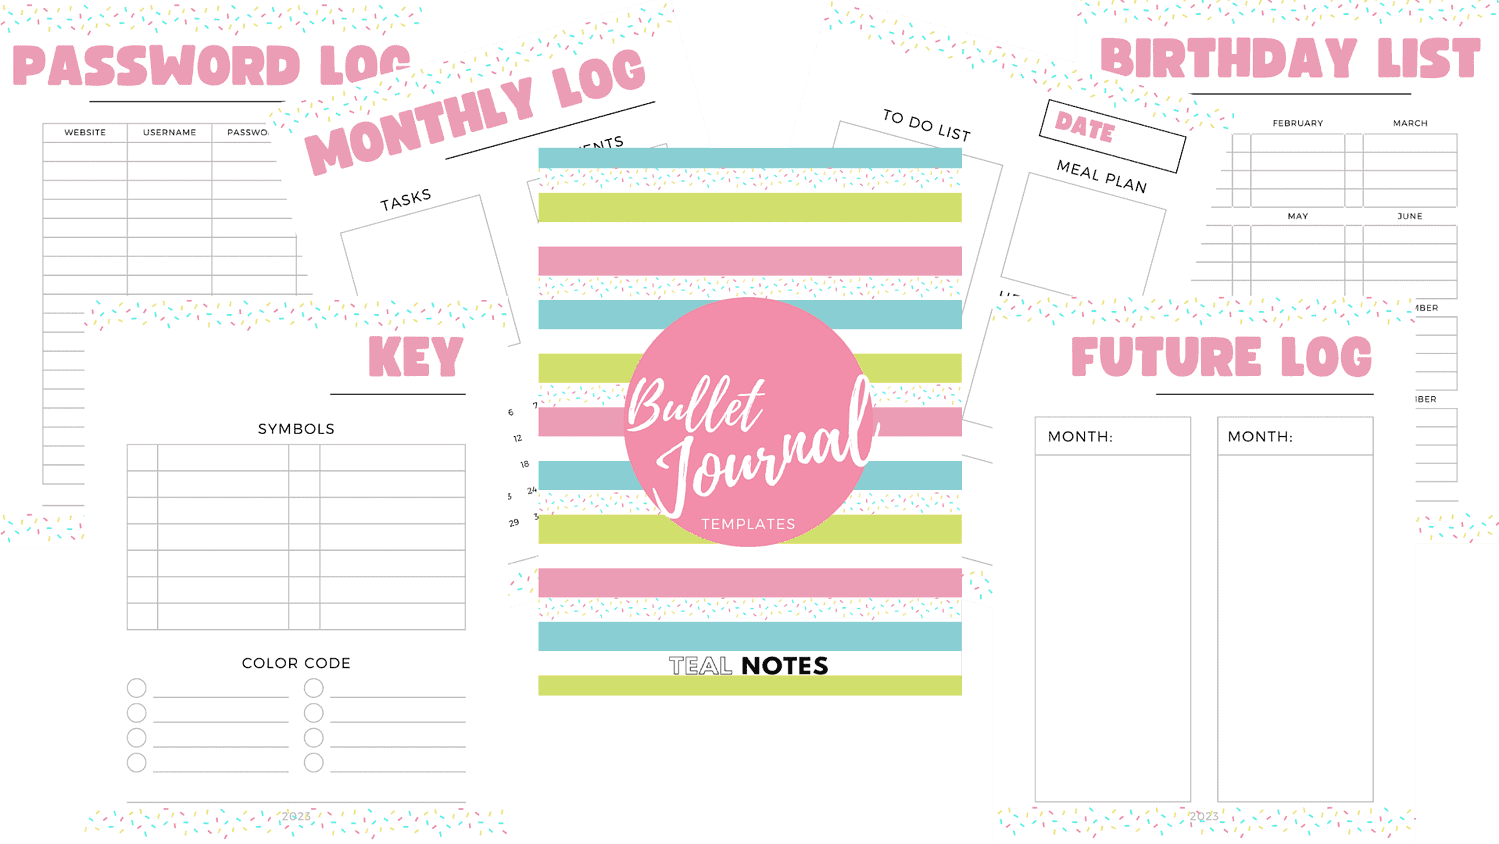
Realize Your Potential with My Free Bullet Journal Templates
Now that you’ve experienced the joy of crafting your personalized planner, why stop here?
To help you take your planning game to the next level, I’m excited to offer you a collection of free bullet journal templates.
These templates are designed to complement your custom planner, offering you a range of layouts for different needs – from weekly spreads to habit trackers and more.
By using these templates, you’ll streamline your planning process and free up more time for what truly matters.
Imagine having beautifully designed layouts at your fingertips, ready to be filled with your plans, goals, and dreams.
Don’t miss out on this opportunity to enhance your planning journey. Click here to access your free bullet journal templates and unlock the full potential of your personalized planner.
Thank you for joining me on this planner-making adventure.
Remember, your planner is more than just pages – it’s a reflection of your unique journey and a testament to your commitment to a more organized and fulfilling life.
FAQ’s
Can you use a regular notebook as a planner?
It’s time to get organized. And the best way to do that is with a planner. But hold on, you don’t have to run to the store and buy an expensive planner, you can make one from a notebook.
How many pages should a planner have?
(For a standard planner, with a cover page, back cover, one page for each month, and one page for each week, you’d need 66 pages.)
If you’re printing your planner at home using normal paper, you can use the standard print dimensions of a 9.5×11 sheet of paper.
Is it worth keeping a planner?
Effective scheduling is a crucial part of time management. You achieve the best results when you prioritize and plan your tasks before working on them.
Using a daily planner to schedule the exact time for office tasks, personal errands, appointments, and so on ensures that you prepare well for these events.
Why do I like planners so much?
I love my planners because it’s like another form of scrapbooking. I have always wanted to document my life but never found time to do it.
With planning, I am able to plan my days ahead, but also come back and check up on my day and write a little note or memory of the day.