
As someone who meals preps regularly, I understand the importance of having the right meal prep containers.
Without them, meal prepping can quickly become a frustrating and time-consuming task.
That’s why I’m excited to share with you all the benefits and tips for using meal prep containers effectively.
In this article, we’ll explore the different types of meal prep containers available, how to choose the right one for your needs, and how to use them to streamline your meal prep process.
So, let’s dive in!
Exploring Different Varieties of Containers for Meal Prepping
Meal prep containers come in different materials and designs, each with its own set of pros and cons.
Here are the most common types of meal prep containers and what you need to know about them:
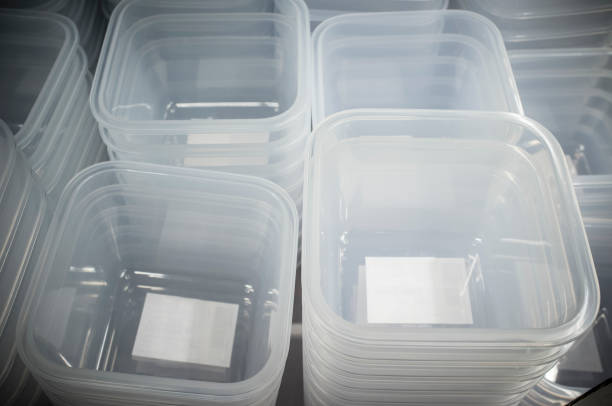
- Reusable plastic containers: These are the most popular meal prep containers due to their affordability, lightweight, and versatility.
They come in different shapes and sizes and are perfect for packing lunches and storing leftovers.
However, they are not very durable and can become stained and warped over time.
Look for BPA-free containers that are microwave and dishwasher-safe, and have secure lids that prevent leaks.
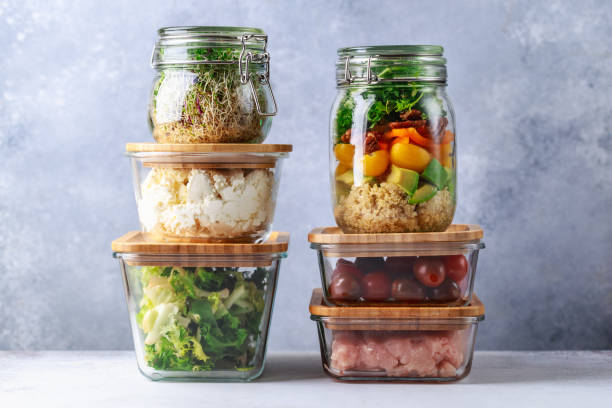
- Glass containers: These are a more eco-friendly and durable alternative to plastic containers.
They are microwave and dishwasher-safe and do not absorb stains or odors like plastic.
Glass containers are also better for reheating food in the oven or toaster oven.
However, they are heavier and can be more expensive than plastic containers.
Look for containers with snap-lock lids and silicone seals to prevent leaks.
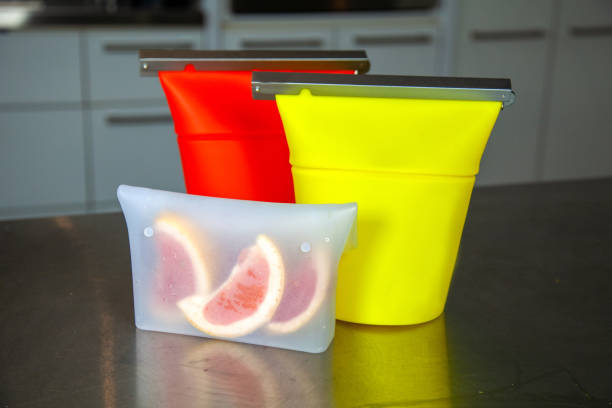
- Silicone bags: These are a great option for storing snacks, sandwiches, and liquids.
They are made of food-grade silicone and are reusable, dishwasher-safe, and microwave-safe.
Silicone bags are also a space-saving alternative to plastic containers, as they can be flattened when empty.
However, they are not ideal for meal-prepping large quantities of food and can be prone to leaks if not sealed properly.
When choosing meal prep containers, consider your lifestyle and meal prep needs. Do you need containers that can be easily transported?
Are you reheating your meals in the microwave or oven? Do you want a more eco-friendly option?
Once you know what you’re looking for, it will be easier to find the right containers for your needs.
For example, I use reusable plastic containers for packing lunches and snacks to bring to work, while I prefer glass containers for storing leftovers in the fridge or freezer.
I also use silicone bags for packing sandwiches and snacks for road trips or picnics. It’s all about finding what works best for you and your lifestyle.
Selecting the Perfect Meal Prep Container for Your Needs
Now that you know the different types of meal prep containers available, it’s time to choose the right one for your needs.
Here are some factors to consider when selecting a meal prep container:
- Durability: Look for containers made of sturdy materials that can withstand repeated use without warping, cracking, or breaking.
- Size and shape: Consider the size of your meals and the space in your fridge and freezer.
Choose containers that are the right size for your portions and can easily fit in your fridge or freezer without taking up too much space. - Air-tightness: Make sure the containers have a tight-fitting lid that seals well to prevent leaks and keep your food fresh.
- Microwave and dishwasher safe: If you plan on reheating your meals in the microwave, choose containers that are microwave safe.
Also, look for containers that are dishwasher-safe for easy cleaning. - BPA-free: Choose containers that are BPA-free to avoid harmful chemicals leaching into your food.
When choosing meal prep containers, you don’t have to break the bank. There are many affordable options available that meet all of the above criteria.
It’s also worth investing in a set of containers with different sizes and shapes to accommodate different types of meals.
For example, I prefer using meal prep containers with dividers to separate my protein, carbs, and veggies.
This helps keep my meals organized and prevents them from getting soggy.
I also like using square containers for stacking in the fridge and freezer, as they take up less space.
By considering your needs and preferences, you can choose the right meal prep containers that work best for you.
Mastering the Art of Utilizing Meal Prep Containers Effectively
Now that you’ve chosen the right meal prep containers, it’s time to use them to make meal prep easier and more efficient. Here’s how:
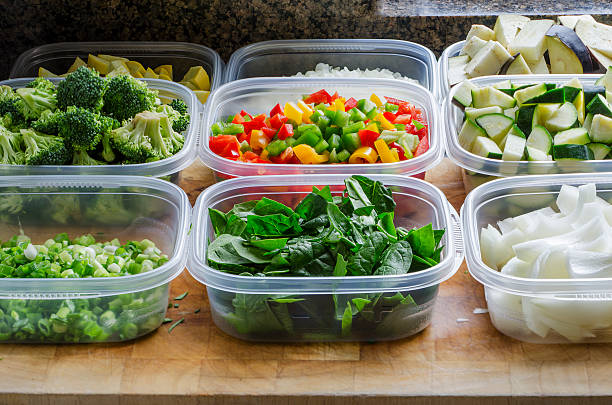
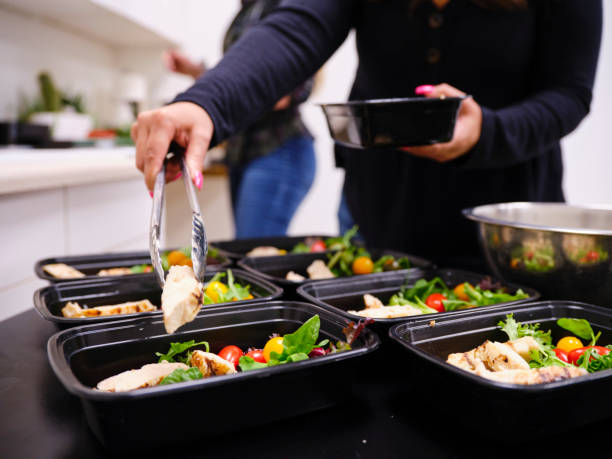
- Prepping ingredients: Before you start assembling your meals, make sure to prep your ingredients first.
This includes washing and chopping veggies, cooking rice or quinoa, and marinating meat.
Once your ingredients are prepped, assembly becomes quick and easy.
- Portioning meals: Use measuring cups or a food scale to portion out your meals evenly.
This ensures that each meal has the right balance of protein, carbs, and veggies.
It also makes it easier to track your portions if you’re trying to manage your calorie intake.
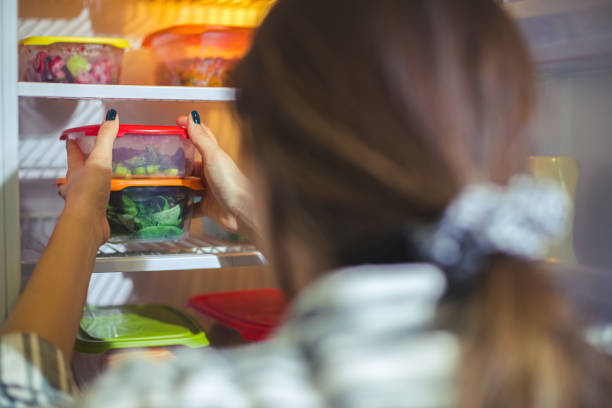
- Storing meals: Once your meals are assembled, store them in the appropriate meal prep containers.
Label each container with the date and contents to keep track of what you’ve prepped.
If you’re storing meals in the freezer, make sure to leave some room at the top of the container for expansion.
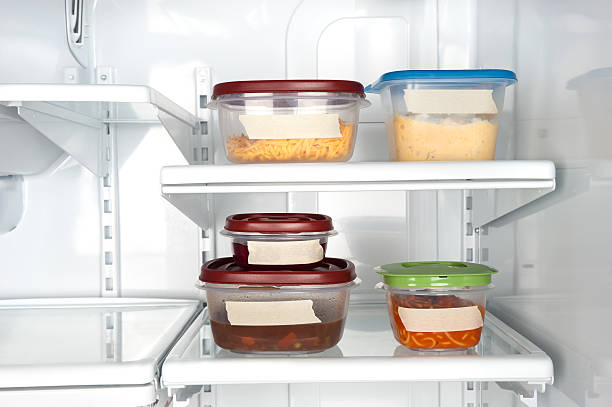
- Labeling containers: Labeling your meal prep containers is essential for keeping track of what’s inside and when it was prepped.
You can use masking tape or labels to write the contents and date.
This also helps prevent food waste by ensuring that you use up your meals before they go bad.
By following these tips, meal prepping becomes a breeze. Personally, I like to prep my meals on Sunday evenings for the week ahead.
It saves me time and energy during busy weekdays, and I never have to worry about what to eat for lunch or dinner.
For example, one of my favorite meals to prep is a chicken stir-fry with brown rice and mixed veggies.
I chop all the veggies and cook the rice ahead of time. Then, I marinate the chicken and cook it in a pan with some oil and garlic.
Once everything is cooked, I portion out the rice, veggies, and chicken into my meal prep containers and store them in the fridge for the week.
It’s a delicious and healthy meal that I can enjoy all week long.
Expert Tips and Tricks for Maximizing the Use of Your Meal Prep Containers
Here are some additional tips and hacks to make the most out of your meal prep containers:
- Maximizing space in the fridge and freezer: Use stackable containers to save space in your fridge and freezer.
You can also use freezer-safe bags to store flat items like pancakes or tortillas. - Avoiding freezer burn: To prevent freezer burn, make sure to leave some room at the top of the container for expansion.
You can also place a piece of plastic wrap over the food before sealing the lid to create a barrier. - Using containers for non-food items: Meal prep containers are not just for food.
You can use them to organize your pantry, bathroom, or craft supplies. They are great for storing small items like buttons, beads, or screws.
By using these tips and hacks, you can get the most out of your meal prep containers and make meal prep a breeze.
Usually, I like to use stackable containers to save space in my fridge and freezer. I also use smaller containers for snacks and larger ones for main meals.
This makes it easier to grab a snack on the go or heat up a meal for dinner.
For example, I recently started using meal prep containers to organize my craft supplies.
I use smaller containers to store beads, buttons, and thread and larger ones for fabric and yarn. It’s a great way to keep everything organized and easy to find.
Effective Strategies for Cleaning and Maintaining Your Meal Prep Containers
Proper cleaning and maintenance of your meal prep containers are crucial for ensuring their longevity and keeping them hygienic.
Here are some tips for cleaning and maintaining your meal prep containers:
- Proper cleaning techniques: Wash your containers with warm soapy water after each use.
If you’re dealing with stubborn stains or odors, soak the container in a mixture of baking soda and warm water for a few hours before washing. - How to remove stains and odors: You can also use white vinegar or lemon juice to remove stains and odors.
Simply soak the container in the vinegar or lemon juice for a few hours before washing. - Long-term care and maintenance: Make sure to dry your containers thoroughly before storing them.
If you’re storing them for an extended period, make sure they are completely dry to prevent mold and mildew.
By following these tips, you can keep your meal prep containers clean and hygienic for long-term use.
Personally, I like to hand wash my meal prep containers with warm soapy water and a soft sponge. I make sure to dry them thoroughly before storing them.
For example, I recently had an issue with stains on my plastic meal prep containers. I tried using dish soap and warm water, but the stains wouldn’t come out.
So, I tried soaking the containers in a mixture of baking soda and warm water overnight. The next morning, the stains were completely gone!
It’s a simple and effective method for removing stubborn stains from your meal prep containers.
Transform Your Meal Prep Game Today!
Hey there lovely ladies! Are you tired of the hassle and stress of meal planning?
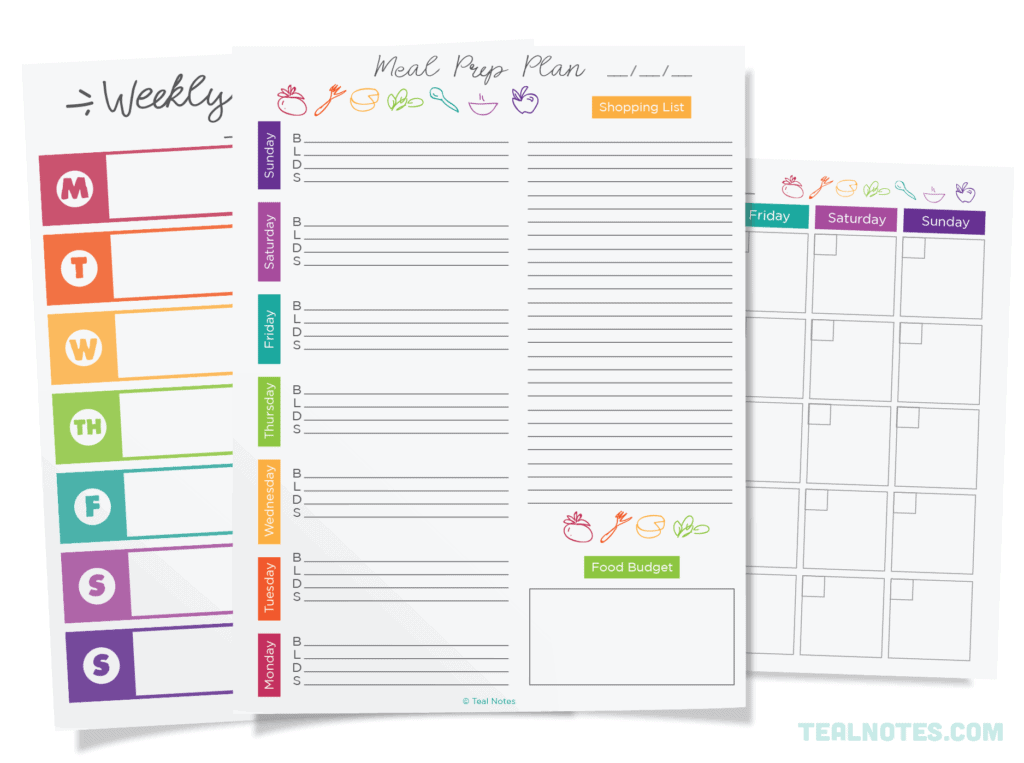
Want to simplify your life and eat healthy meals without the fuss? Look no further than our meal-prepping containers guide and free meal plan printable!
Our expertly designed printable will take your meal prep routine to the next level.
Say goodbye to endless cooking and hello to more time for self-care and the things you love.
Transform your meal prep game today and start feeling your best! Get your meal prep containers and free meal plan printable now!
FAQ’s
Is it OK to meal prep in plastic containers?
Are Plastic Meal Prep Containers Safe? A big question about plastic meal prep containers is “Are they safe?”
The answer is yes and no. The main issue with plastic containers is they can contain BPA (Bisphenol A) and some of that can actually leak into your food, especially if the plastic is heated.
What is the best size container for meal prep?
What is the best size container for meal prep? “If you take food on the go, you’ll want to aim for 25- to 30-ounce containers,” Koren says.
“But if you’re just storing large quantities of meals in your fridge at home and not carrying them around, 40-ounce-plus containers will be best.
How long do meal prep containers last?
It depends. The type of food and location of storage impact how long food will last.
Make a meal plan of about four days of safe storage in the fridge and about four months of safe storage in the freezer.
Watch for changes (smell, color, texture, and mold) to your meal prep food as a sign that it’s gone bad.