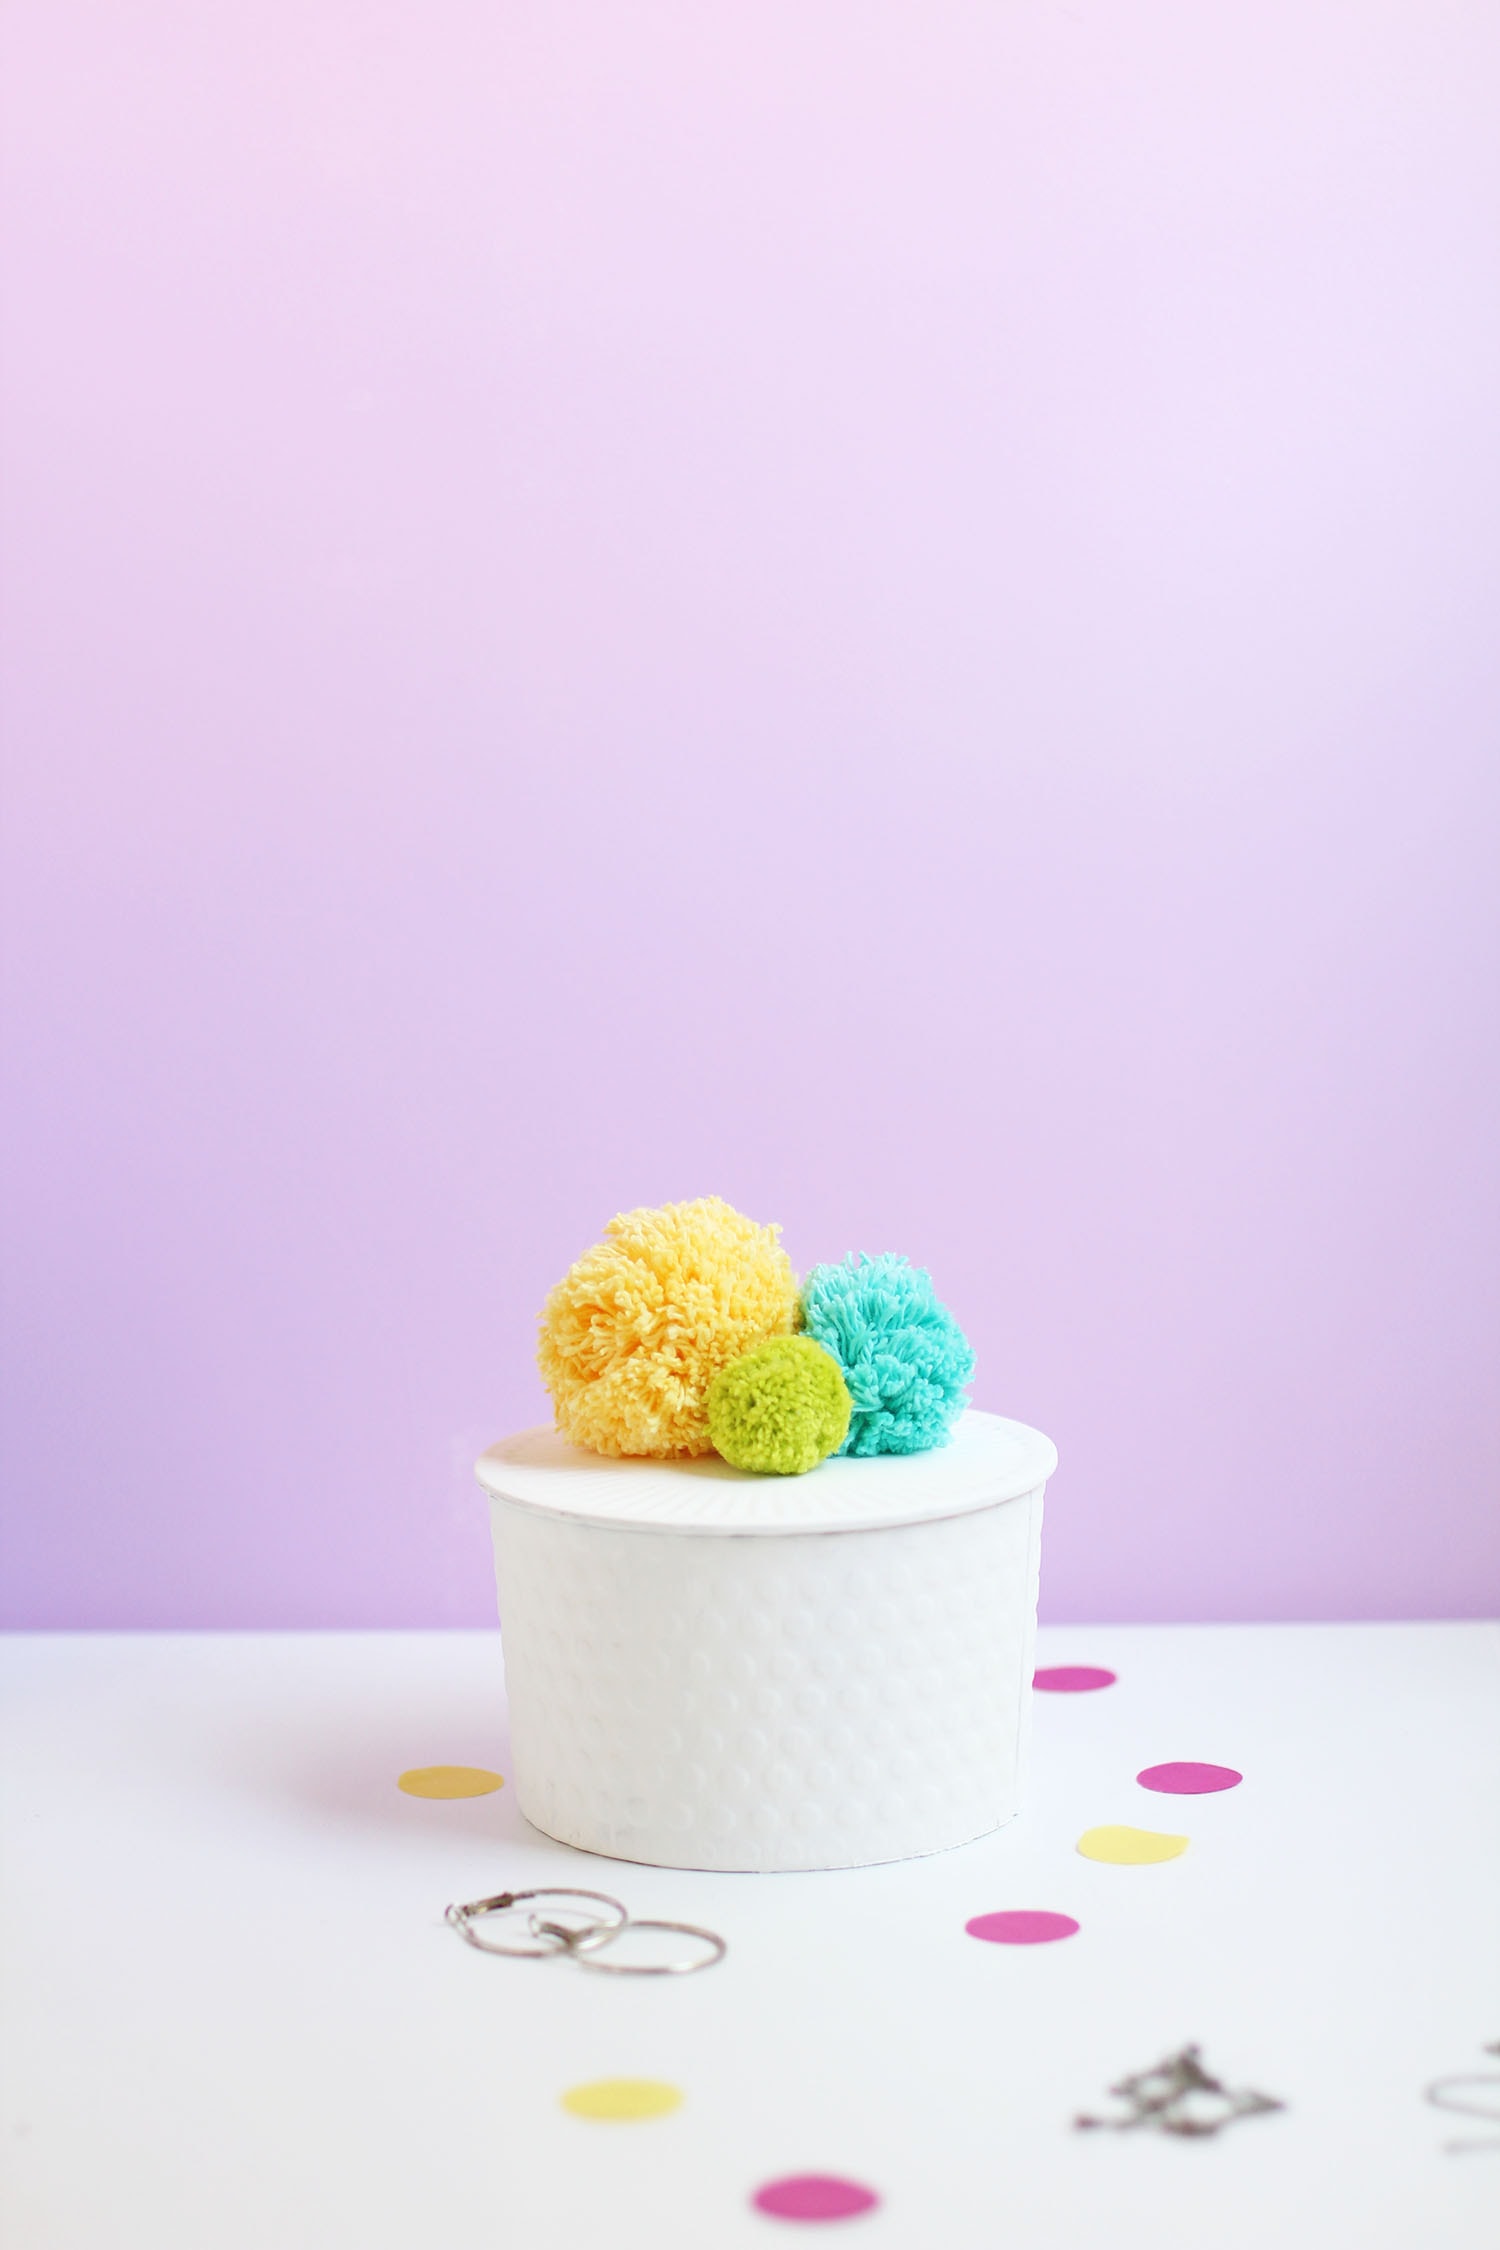
A DIY jewelry box is easier to make than you might think.
All you need is a little creativity, some paint, and some fun pom poms. I usually like to keep my crafts and DIY ideas simple, so they can easily be recreated.
A DIY jewelry box organizer is a great way to make something creative and create something useful. Come to think of it, it also makes for a cute homemade gift. It doesn’t even have to be for jewelry keeping either, you can store all kinds of things in it.
This jewelry box was created out of an old candle tin. A friend of mine had gifted me a candle for Christmas, and after burning through the whole thing, I didn’t want to throw the tin away. So I re-purposed it into this!
Here’s what you’ll need to recreate it at home:
DIY jewelry box organizer

- An empty tin of some sort with a lid (a wooden box can also work here)
- White spray paint
- Pom pom makers
- Your favorite color yarn in three colors
- Hot glue gun
- Sharp scissors
Some of these supplies you can easily find at your local dollar store. The only thing I couldn’t find there were the pom-pom makers, which, if you love pom poms, they’re definitely a nice investment.
I ended up finding a pack of different sized pom makers on amazon. They weren’t too bad price wise either!
Jewelry box supplies

- Clean out your jewelry tin inside and out, scrape off any remaining wax
- Set up a spray paint area outside and spray paint your tin in wide sweeping motions, so as to not get drip streaks on your tin
- Do this for two to three layers until you’re satisfied with the coverage
- Now take your two smallest pom pom makers and create about three pom poms in your favorite colors
- Take a pair of scissors, round them out and cut them down until you get the pom pom consistency you like
- Hot glue them as an array in the middle of your tin lid and let dry
- Voila! You’ve got yourself a cute, cheap and easy jewelry box organizer!

Sometimes when I make my pom poms they can get to look pretty messy at first. Especially when my scissors lose their sharpness.
But this is totally okay though. All you have to do is, when you cut out the pom pom, keep shaping it with your scissors until you get a nice round shape.
It might take a while before you get the look you want, but you have greater control on the outcome this way too.


More on the blog
DIY Mini Bullet Journal Notebooks
DIY Party Paperclip Flags For BUJOs And Notes
Fruit Bookmark With Free Printable Template
DIY Genius Bookmark Idea Where You Can Keep Track Of Your Reading List
5 Genius Washi Tape Ideas You Can DIY In 5 Minutes
Free Printable Measuring Charts
How To Make A DIY Printable Planner
19 DIY Unicorn party Ideas For Your Next Celebration!